Introduction
Content Center allows users to develop their own standard family of parts. During the publishing process, you will likely need to manage the properties of your custom content center families. Depending on what type of property you need, the process will differ accordingly. That said, there are three workflows which we will discuss today:
- Adding a new property which is mapped to an iproperty to the family table
- Adding a new parameter to the family template post-publication
- Adding a new parameter to the family template pre-publication
The following instructions also assume that you already have a populated custom content center library with write privileges.
Understanding Content Center Structure
Before going further, it will help to understand what parts comprise a content center family. There are two major halves to be aware of – the family template and the family table.
The family table contains all the explicit information needed to generate the part. This table includes information such as key parameters values, naming conventions, and additional properties.
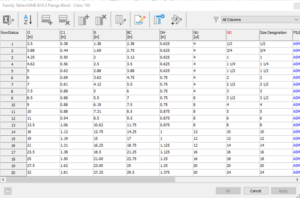
The family template is an actual ipt file which contains the CAD geometry. When the family template is combined with the family table, the values from the family table are applied to features and geometry of the family template, and together produce a uniquely configured content center part for placement in an assembly.
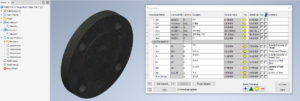
To add and manage the properties or parameters of your content center family, you will have to work with both halves in tandem.
Adding a new property to the family table to be mapped to an iproperty
Working from the family table edit dialog, you can add a new property by adding a new column to the family table. This in itself won’t have any effect on the finished parts; you are simply adding more information to the table. For these values to have an affect on your placed components, these columns must first be mapped to a property, in this case an iproperty.
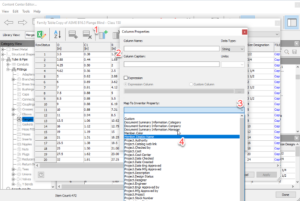
Once a column is added, you can then edit the column properties and add mapping through the section shown here:
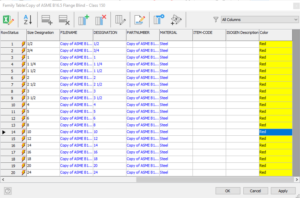
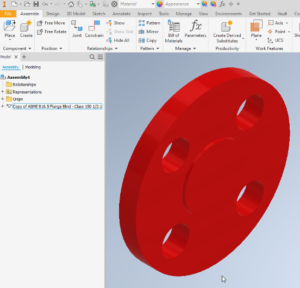
This is perhaps the simplest way to add additional information to a content center family, however this requires that you have an iproperty in mind to map to. But once that mapping is set up, it will be completely driven off the family table and thus fairly simple to update. Anything outside of iproperties, such as model parameters, will involve editing the family template as we will see in the following sections.
Adding a new parameter to the content center family post-publication
In the case that you need to add a model parameter that will not be mapped to an iproperty, you will need to make edits to both the family template and family table.
To edit the family template, start by placing a part as custom. This will prompt you to save a new part file which you can then open and make changes to.
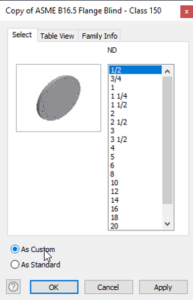
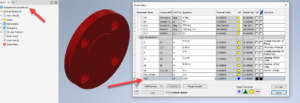
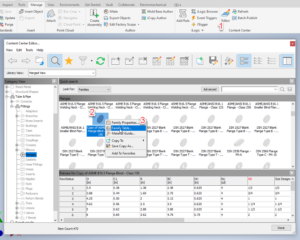
Once you have added your parameter (or any changes), save and close the part. Go back to the content center editor and find the family you are updating. Right click and select “Replace Family Template”.
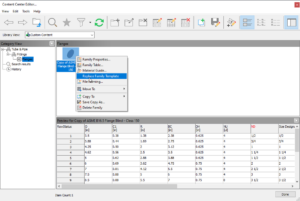
Select the part file with your changes and confirm the update. Now that the template is updated, those new parameters will be available to interact with the rest of the database. The next step is to add a new column to the family table.
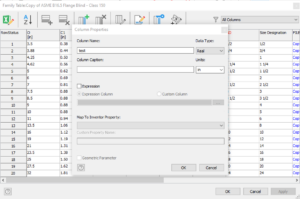
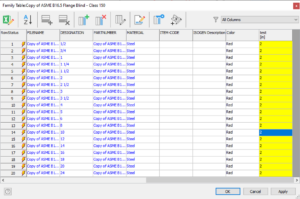
Now, we have to map these family table values back to the model parameters from the family template. To do this, we click back on the family, and select “Edit Family Properties”
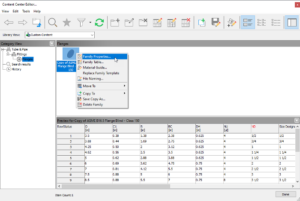
From the Family Properties dialog box, you will navigate to the template parameters section, and click on the three dots inline with the property you would like to map, our test parameter in this case.
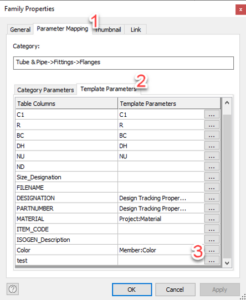
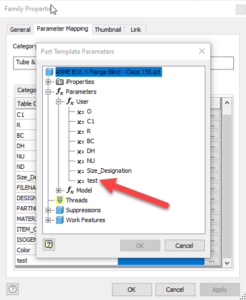
Once go ahead and click okay and apply the changes. Now, any values from the family table under that column will be written to the model parameter of any future placed members from this family.
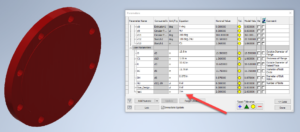
Adding a new parameter to the content center family pre-publication
The methods discussed so far assume that the content center family has already been published to the library. However, it is also good to note how parameters and properties are invoked during the initial publication. Essentially, these properties are essentially from the original iparts table.
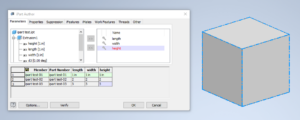

Note on refreshing content center parts
When working with content center databases, it can often be hard to know when a part has the up to date information from the family table. Especially if you are doing many database edits, it’s good to know about the refresh commands available to keep your parts in sync with the latest data base information.
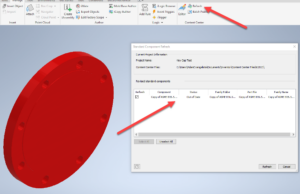
In the case where you’ve run the refresh command, and your parts are still out of date it’s also possible that problem file is still open in memory somewhere. So if necessary it’s recommended to 1) just restart Inventor or 2) delete the local working copies of your place components. Once the rendered ipt for a content center member is deleted, it will be regenerated using the latest database information upon placement.
Conclusion
Ideally, every content center family would be perfect before being published to your library. However, there are still many ways to keep add and manage the properties and parameters of your content center family. So, while content center is great for standardizing parts, rest easy knowing content center is still flexible enough to meet your needs.
