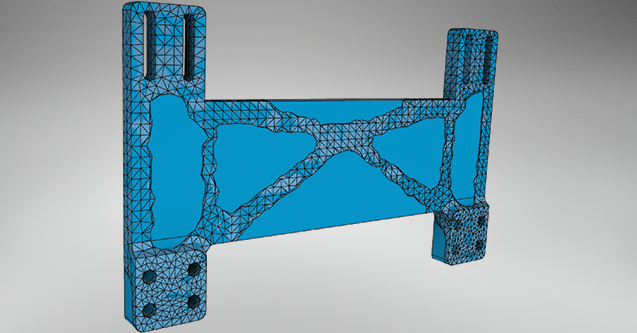
Inventor’s Shape Generator is a new approach to design lightweight, structurally efficient parts in Autodesk Inventor. It provides an intelligent strategy for maximizing part “stiffness” based on the constraints you specify.
Worried about component weight? Shape Generator removes unnecessary pieces of geometry and optimizes your model to your specifications. The technology is integrated into Autodesk Inventor, making it simple to incorporate into your existing design process. Shape Generator produces a 3D mesh that can be used to guide your design refinement, meaning it’s best used early when designing. Let’s look at how to include Shape Generator in your design process today.
Getting Started

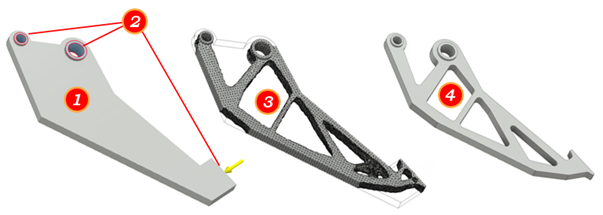
The image above illustrates how Shape Generator can become part of your design process.
- The first step is to create a ‘build volume’ or approximation of the part model. The model should constrain requisite contact points, such as the two pin locations, and the contact surface where force will be applied. (See #2 for these locations)
- With the build volume defined, you can specify preserve (keep out) zones (the process will not modify these zones when creating the guide shape), and apply constraints and forces the part may encounter in use.
- With the design criteria specified, you will run a Shape Generator Study and receive back a mesh in response to the criteria. The Shape Generator removes excess material and gives you a generalization for how your product may look at the end of the refinement process.
- The mesh serves as a guide for making modifications to the build volume model. Your edits transform the model from an approximation into a design.
It’s important to note that Shape Generator is not supported for assemblies or multi-body parts (single parts which contain multiple bodies).
Try it for Yourself
Autodesk Inventor users and experts have created numerous Guided Tutorials for users to learn at their own pace. These are available on the “Get Started” tab in your Inventor window. To open:
- Click the “Tutorials” icon on the “Get Started” tab
- Locate the Shape Generator tutorials in the gallery of Installed Tutorials.
What is your experience with this? Share your use of the tool in the comments below.
Shape Generator was introduced to Inventor in the 2016 R2 release of Inventor and drastically improved in 2017’s release. To learn about what’s coming to the next release of Inventor from Inventor Product Manager, Loren Welch, register for Autodesk Virtual Academy.