I’m sure everyone wants to eliminate repetitive design in our workflows. Sometimes, this process is difficult, sometimes even needing custom coding of software. Other times, you don’t necessarily need to go as far as coding and programming. What’s more, you just need to fully leverage the power the software comes with “out of the box”. One such tool is Dynamic blocks. Dynamic blocks in AutoCAD contain rules that allow a user to configure parameters to change the appearance of the block reference when it is inserted into drawings. Such function allows users to define custom properties and manage drawing content to further enhance and speed up workflow.
In this session of Autodesk Virtual Academy, we cover Dynamic Blocks, how to create them, and associate specific parameters to define sizing, arrays, and visibility states.
Watch the Session
Miss the webinar? No problem. Watch below and be sure to subscribe to Autodesk Virtual Academy to never miss a session.
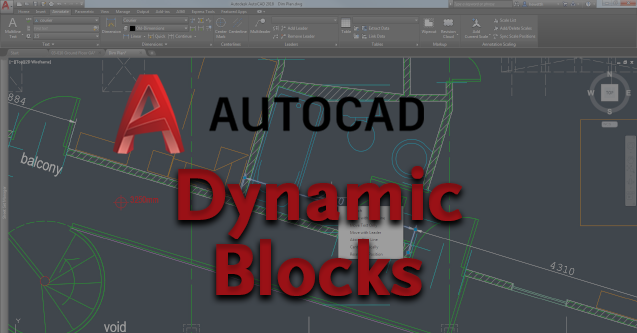
AutoCAD Dynamic Blocks
AutoCAD blocks combine a collection of objects into a single named object. More specifically, blocks can be saved and reused to cut down time on duplication and create a consistent look for items in your workflow. Dynamic blocks take that one step further, allowing you to change the shape, size, and configuration of an existing block instead of creating many static block definitions. We are just grazing the surface of Dynamic Blocks; there are tons more applications, so let us know if there is anything more we can share in the future.
From our experience, one of the largest improvements to a person’s efficiency is reducing the amount of repeatable tasks, or even automating them. Dynamic Blocks allow some of that to happen. Make sure you are leveraging their power in your workflow and use that extra time to innovate your designs and industry.
How are you and your team using Dynamic Blocks? Are they saving you considerable time? Share your thoughts in the comment section below.
For more Autodesk Inventor training, register for Autodesk Virtual Academy.