
In a recent Autodesk Virtual Academy session, Travis Evans showed us how you can use iLogic and Configurator 360 together and how these tools can benefit both the design team and the sales team. Today we’re going to take a step back and and give you an introduction to iLogic. We’ll start from the beginning and show you how to use to use and configure it.
What is iLogic?
iLogic is a tool within Inventor that enables rules-driven design, making it easy for users to reuse their work, automate their design processes, and even configure their virtual products.
How does iLogic work?
iLogic implements rules as objects directly into part, assembly, and drawing files. These rules then determine and drive a parameter and attribute values for your design. By controlling these values you can designate how the attributes, features, and components of your model will behave.
How do you access iLogic rules?
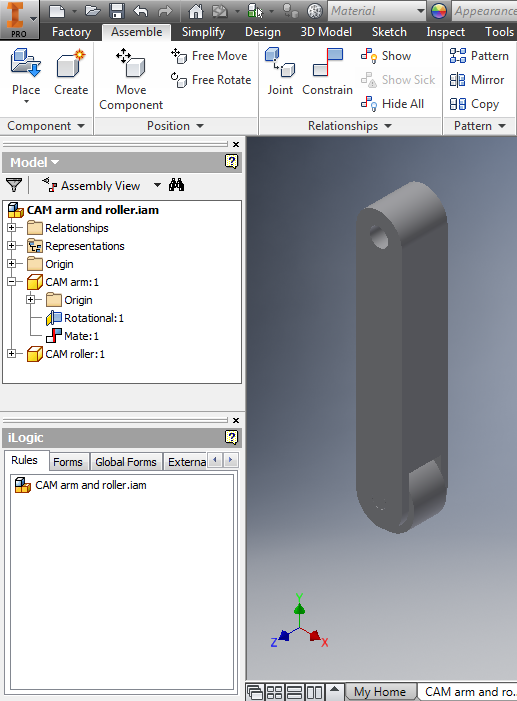
Open your part that you want to apply rules to.
Once open, go to the Manage tab and you will see a section entitled iLogic.

In this section, you can open the iLogic Browser and even add a new rule as well. I recommend opening the iLogic Browser first and creating a rule from there.
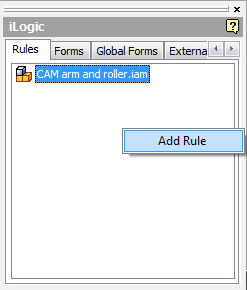
To add a rule from the iLogic browser you simply right click the empty space inside the browser window and a drop down menu appears giving you the option to Add Rule.
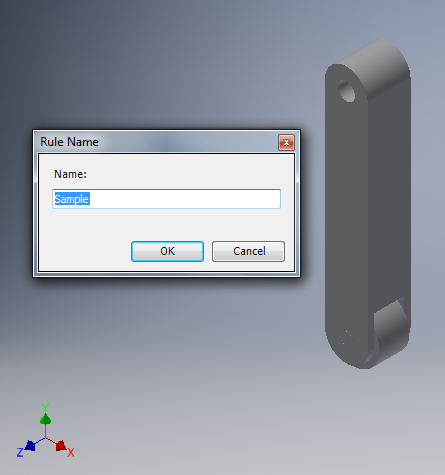
Once you’ve clicked Add Rule, a window will appear asking you to input a name for the rule you want to create.
After you’ve input a name for your rule, the Edit Rule Dialogue Box will appear and it is here that you create / modify your rule, and select which parameters will be driven using Visual Basic as the programming language.
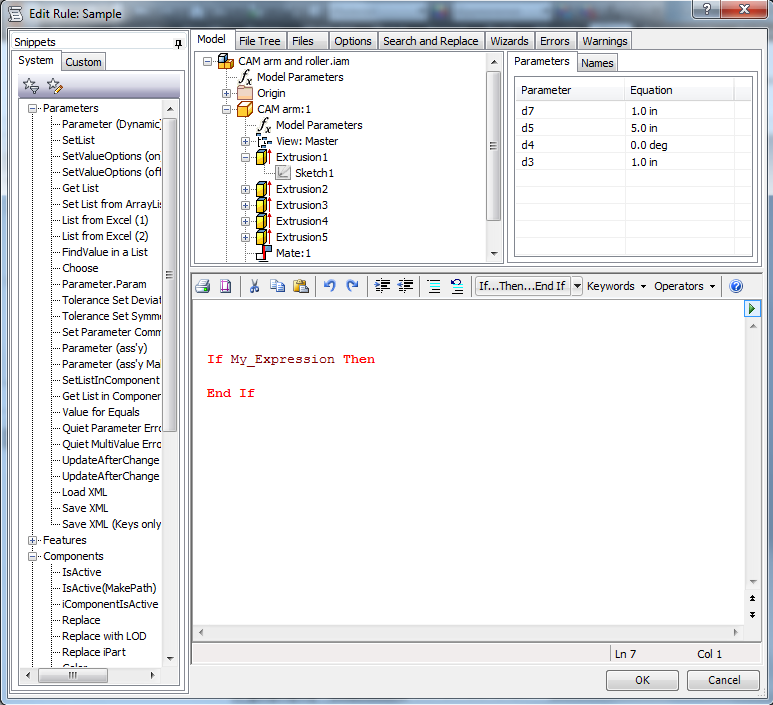
Edit Rule Dialogue Box
You are probably wondering what all the different windows and tabs are in the Edit Rule dialogue box. So here is the dialogue box broken down by section so you can go through them individually.
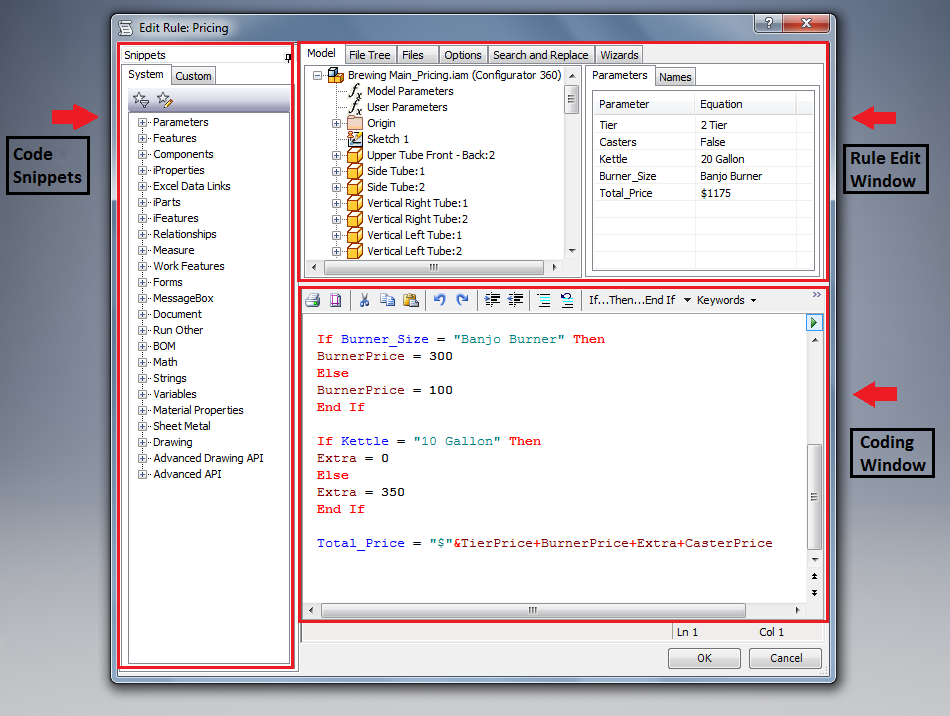
Code Snippets
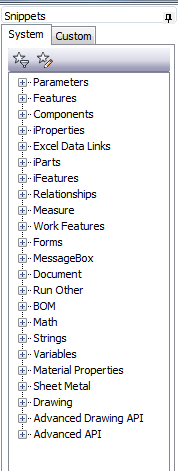
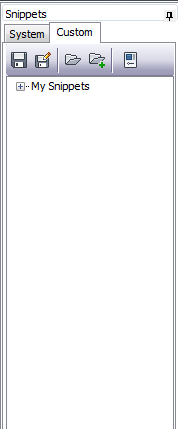
Code snippets provide shorts cuts for frequently used pieces of code that you can select from as opposed to having to type in the same code repeatedly. Above the list of Snippets there are two tabs. The first tab is the System tab which includes predefined snippets that are arranged by category. Next is the Custom tab where you can add your own snippets or create custom copies of System snippets.
Rule Edit Window
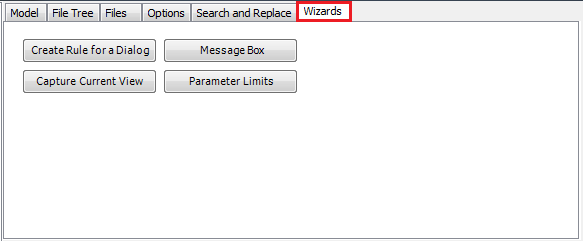
To the right of the Snippets you will see another display window located beneath 6 tabs: Model, File Tree, Files, Options, Search and Replace, and Wizards.
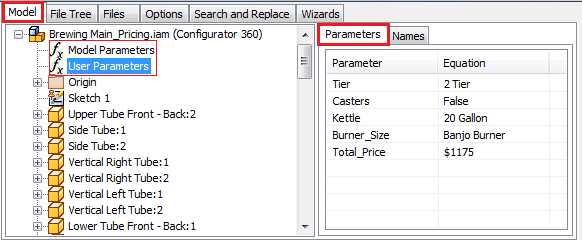
1) Model tab: presents a model view of a part or drawing, or a component view of an assembly like the example shown. From here you see to the right a Parameters and Names tab as well.
The Parameters tab lists the parameters for your part or assembly based on the Parameter Type selected in the tree to the left. The Names tab cumulatively lists items from the tree as you select them.
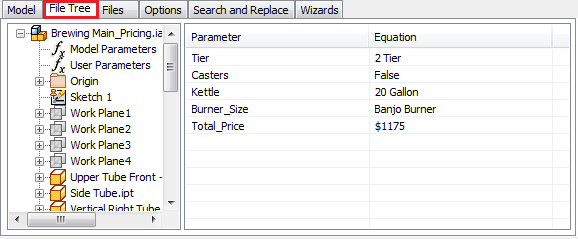
2) File Tree tab: presents a file view of an assembly, instead of the component view shown on the Parameters tab. You can use this view to find objects quickly under part and assembly names.
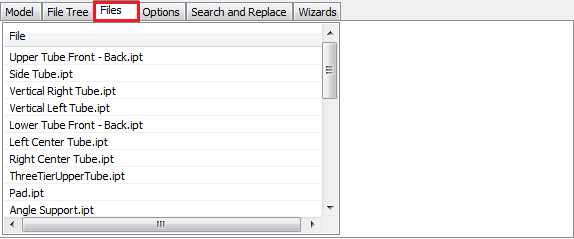
3) File tab: lists the names of the part files in an assembly which you can use to then copy file names for use in a rule.
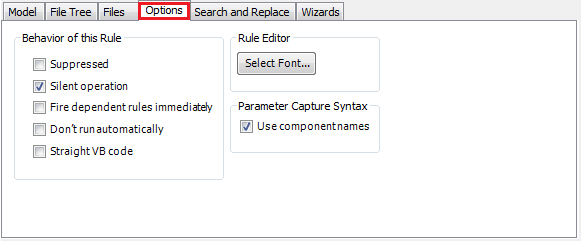
4) Options tab: determines the behavior of the rule, along with being able to modify certain characteristics of the rule appearance.
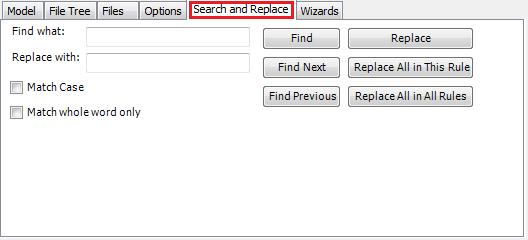
5) Search and Replace tab: locates a string (of code) in the current rule, and optionally replaces the string with another string.
6) Wizards tab: lets you select from several task-based wizards. These are as follows: Create Rule for a Dialog, Message Box, Capture Current View, Parameter Limits.
Parameters
In Inventor, a dimension or other measurement that you add to a model becomes a parameter for the model. Parameters can define the size and shape of features and control the relative positions of components within assemblies. To create a new rule you need to determine which parameters you want to drive with your rule. You can use either the “Model Parameters” which are created while modeling or you can even create your own called “User Parameters”.
To Access the Parameters list go to:
Assemble tab > Manage > click the Parameters icon (fₓ)

Once open you can see all of the Model Parameters and User Parameters listed for the model.
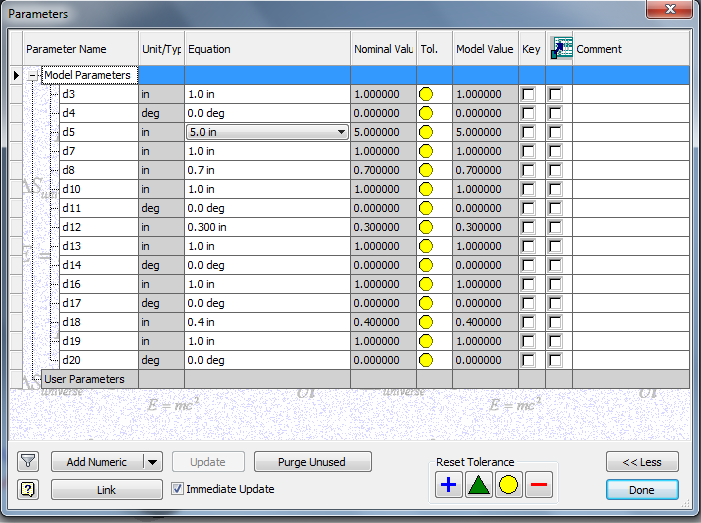
At the bottom there is a section dedicated to the User Parameters and just below there where it says “Add Numeric” is where it gives you the options for creating new parameters of your own.

If you would like to learn more about Parameters and how they are used click here.
Recap
Now you know how to open the iLogic browser, create a new rule, and create a new parameter as well.
Want to know more about iLogic? We’re offering an iLogic training class, see here for more information. Sign up now and become and expert!
Have any questions? Leave us a comment below!
Still pretty complicated for most users.
Needs to be simplified with fewer dialog boxes to keep up with.
Good point. Coming soon – a detailed training class from Rich Sanchez on iLogic. We’re going to simplify things.
Looking forward to your simplified explanation of using iLogic